How to Remove a Rounded Bolt Safely and Efficiently
Quick answer: Use the least destructive method that matches the damage. If usable wrench flats remain, clean the head and try a correctly fitted six-point socket with controlled hand force. If the flats can no longer transmit torque, move to a purpose-made external extractor socket. Use penetrating oil only when corrosion is involved and follow the product label. Controlled drilling is a last resort.
Before touching the fastener, isolate energy, support any load, confirm that the assembly is safe to disassemble, identify the thread direction, and follow the equipment manufacturer’s service procedure. Stop and obtain qualified assistance if the fastener is structural or safety-critical, remains under load, or is close to fuel, electrical, pressure, heat-sensitive, or easily damaged components.
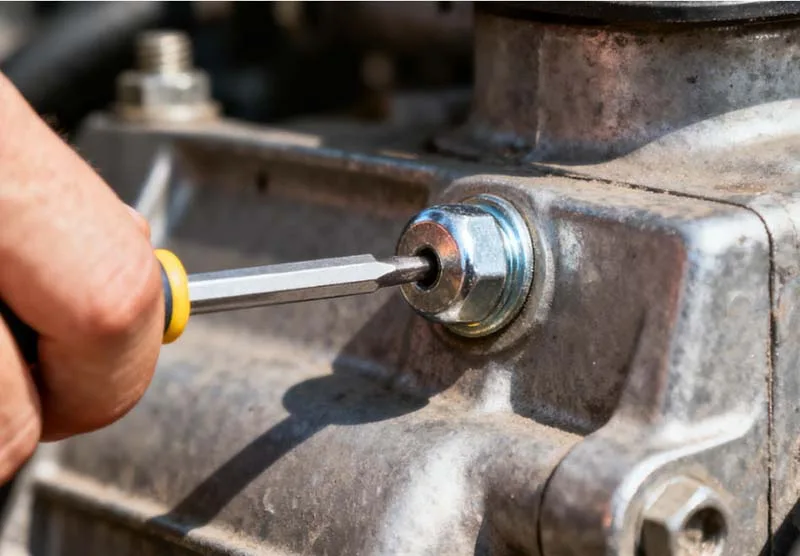
Why Bolt Heads Become Rounded
A rounded bolt has lost some or all of the head geometry intended to transfer tool torque. Common causes include an incorrect socket size, a twelve-point socket on a damaged hex head, a worn or partly seated tool, misalignment, corrosion, excessive installation torque, or poor access. A rounded head does not prove that the threads are damaged, but corrosion, locking features, or overload may be present at the same time.
Choose the Least Destructive Removal Method
| Fastener condition | Preferred first step | Escalation or stop condition |
|---|---|---|
| Corners damaged but usable flats remain | Clean the head, fully seat the correct six-point socket, and apply controlled force. | Stop when the socket slips or further rounds the head. |
| External head is fully rounded but accessible | Use a correctly sized external extractor socket according to its manufacturer’s instructions. | Do not assume every extractor permits impact use. |
| Exposed, low-risk fastener with room around the head | Locking pliers may be attempted if they can grip securely and remain square. | Stop if the tool slips or begins to damage adjacent parts. |
| Corroded or seized fastener | Remove loose debris and apply a suitable penetrant according to its label. | There is no universal soaking time; repeat only as the product instructions permit. |
| Internal drive is stripped or the fastener is nearly flush | Use a centered pilot and purpose-made extractor only with the work secured and suitable personal protective equipment. | Stop if accurate centering is not possible or the parent threads could be damaged. |
| Possible left-hand thread, staking, locking feature, or threadlocker | Check the drawing or service manual before applying more torque. | Do not assume counterclockwise removal. |
| Structural, pressure-retaining, or safety-critical joint | Preserve the part and escalate to the responsible maintenance or engineering authority. | Avoid improvised heating, hammer, or chisel methods. |
Step-by-Step Rounded Bolt Removal
- Make the assembly safe: Follow the OEM procedure, isolate energy, support loads, allow hot parts to cool, and use the protective equipment required for the tool and workplace.
- Confirm the fastener: Check the thread direction, locking device, staking, threadlocker, and whether the joint is safe to disturb.
- Clean and inspect: Remove loose dirt or corrosion. If sound flats remain, fully seat the correct six-point socket and apply smooth, controlled force.
- Treat corrosion when relevant: Apply a suitable penetrant as directed by its label. Dwell time depends on the product, access, and corrosion; a fixed 10–15 minute rule is not reliable.
- Use an extractor when needed: Select the correct external or internal extractor and follow its manufacturer’s instructions. Use impact only when the extractor manufacturer and equipment procedure permit it.
- Drill only as a controlled last resort: Secure the work, center the pilot accurately, protect surrounding material, and stop if the parent threads or a critical component could be damaged.
After removal: Replace a fastener that has lost its intended wrenching geometry. Inspect the mating thread and determine why the head rounded before installing the replacement.
How to Prevent Rounded Bolt Heads
- Use the exact tool type and size required by the fastener and fully seat it before loading.
- Replace worn sockets, keys, and bits that can no longer make full contact.
- Use the tightening method, torque, lubrication, and sequence specified for the actual joint; a generic torque value is not suitable for every finish or application.
- Keep tool and fastener axes aligned and avoid side loading.
- Address corrosion, contamination, and access problems before applying higher torque.
Rounded Bolt FAQ
Does a rounded bolt always have damaged threads?
No. “Rounded” normally describes loss of the external wrenching geometry. The threads may still be serviceable, seized, overloaded, or separately damaged. Inspect both the removed fastener and mating thread.
Should every bolt be turned counterclockwise to remove it?
No. Most conventional right-hand threads loosen counterclockwise, but left-hand threads, locking devices, and staked assemblies exist. Confirm the drawing or service instructions first.
Can an impact wrench be used with an extractor socket?
Only when the extractor manufacturer permits it and the assembly can tolerate impact loading. A controlled manual or low-speed method is easier to monitor. Stop if the extractor twists, slips, or damages surrounding parts.
How long should penetrating oil soak?
Follow the instructions for the specific product. Dwell time depends on the formulation, corrosion, and access to the threads; there is no universal 10–15 minute rule.
Can a rounded bolt be reused?
A fastener that has lost its intended wrenching geometry should be replaced. Grade, condition, and suitability should not be inferred from appearance alone.
Request a Replacement Bolt Quotation
Send Flybear the equipment, drawing, or original part number; head markings; nominal diameter and pitch or TPI; thread direction; length; head and drive style; material or grade; finish; quantity; application; and required documentation. For safety-critical parts, include the OEM or engineering specification.
Send your replacement fastener requirements for review and quotation.
About This Guide
This maintenance guide is published by Flybear Fastener, the trade name used on this website by Nanjing Flybear Hardware Products Co., Ltd. Flybear can review a replacement-fastener RFQ against a confirmed drawing, part standard, or equipment specification. The equipment owner and qualified maintenance personnel remain responsible for deciding whether an assembly is safe to disassemble.
Safety and Tool References
- OSHA — Hand and Power Tools
- OSHA 1926.300 — General Tool and PPE Requirements
- IRWIN — BOLT-GRIP Extractor Information
Follow Me!